The Quick Start Guide introduces the purpose and features of Oxford International Standardized Assessments. It also outlines the process to set up your school’s account, enrol students, and schedule and deliver test sessions.
About Oxford International Standardized Assessments
Test Purpose
The Oxford International Standardized Assessments (OISA) test learners’ mastery of the knowledge and skills covered in either the Oxford International Curriculum or the English National Curriculum, and support teachers’ evaluation of learners’ progression at key points in their learning.
Features and Overview
The OISA tests focus on the content of the Oxford International Curriculum and English National Curriculum covered in Year 6 (end of primary) and Year 9 (end of lower secondary) respectively. They are available for maths, science, English, and ESL. These digital, standardized assessments are certified and endorsed by the Oxford University Department for Continuing Education. OISA puts learners’ wellbeing at the heart of design and offers familiarization content to boost test-takers’ confidence in navigating the assessments. With an engaging, learner-driven digital design, OISA will return comprehensive diagnostic results and insights rapidly.
- Developed for learners at the end of phases 6 and 9, available for maths, science, English and ESL.
- Digital standardized assessments created, delivered and reported in a timely and informative way.
- Certified and endorsed by Oxford University Department for Continuing Education.
- Value students’ wellbeing and offer familiarization test to boost confidence and test readiness.
- Mark automatically and rapidly report comprehensive diagnostic results to teachers
Step-by-step Guidance
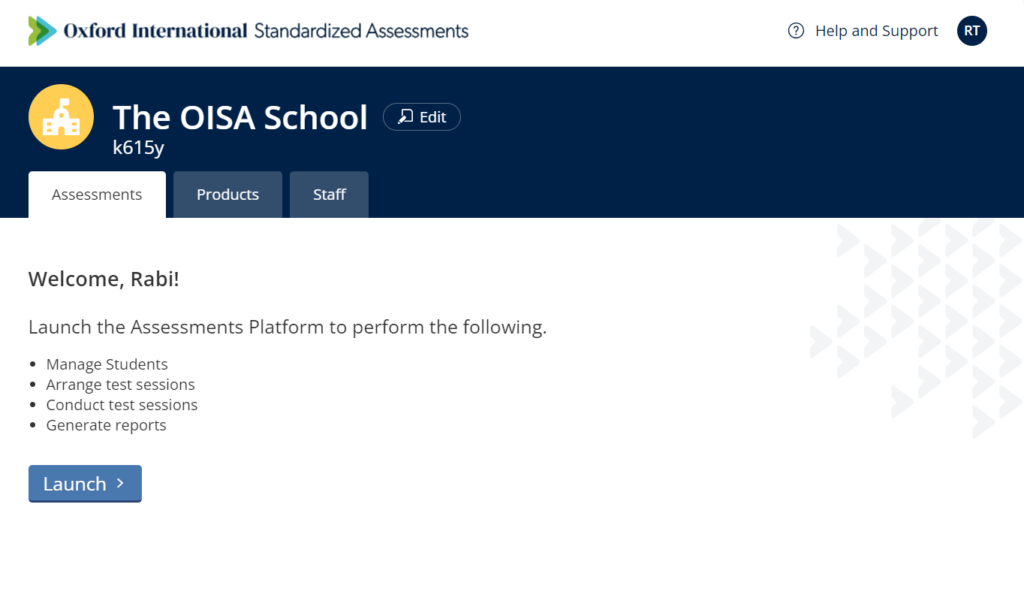
1. Getting started – School administrator will receive two emails – the first to set up an Oxford ID and the second, an order confirmation (both from [email protected]) with next steps for using OISA.
2. Enrol students – Launch the assessment platform through https://oisa.oup.com, imports students and enrol them into the relevant assessment. (Tip: You can also invite other school admins/teachers via the Staff tab)

- Download the template and complete as required. Do not change any column header.
- The following columns
are mandatory
- First Name
- Last Name
- Sex
- Month of Birth
- Birth Year
- Academic Year
- A ‘School Student ID’ field can be used to help differentiate any students with the same name.
- To enrol student’s into an assessment add their class name to the column for the relevant assessment. This will automatically enrol the student and will ensure their results flow through into their class report.
- Save the file. Click Upload File to select the file. Click Start to import.

Example for a school enrolling student’s into Y6 English, Y6 mathematics and Y9 ESL:

3. Generate student codes – Generate codes for students to open their tests. Click Export to download the codes and distribute to all students.

4. Create test sessions – Create new test session to allow students to take a test. The session will remain empty until students enter the test on the test day.


5. Administer tests – Allow enough time to prepare the students’ devices before testing starts. Students’ machines need to be switched on, browsers opened, have the test player page loaded to prepare for student entry. The Test Session Administration screen should be opened in the Teacher device to administer the session.
| Teacher machine | Each student machine |
| Go to https://oisa.oup.com, click [Student Sign in]. (Tips: The test player could take a few minutes to download. You can commence download on each device without waiting for the download to finish) | |
Go to https://oisa.oup.com, click [Staff Sign in], log in and load the [Teacher Dashboard], announce or display the Session Code in the test room.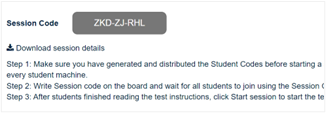 | Allow students to enter the room. Distribute individual Student Code. |
Instruct students to click [Start a Test], then enter their Student Code and the Session Code to confirm their identity. Test-takers must then agree to a student statement declaring that their answers on the test will be all their own work. After they have read the instructions and agreed to the statement, they will see a waiting screen.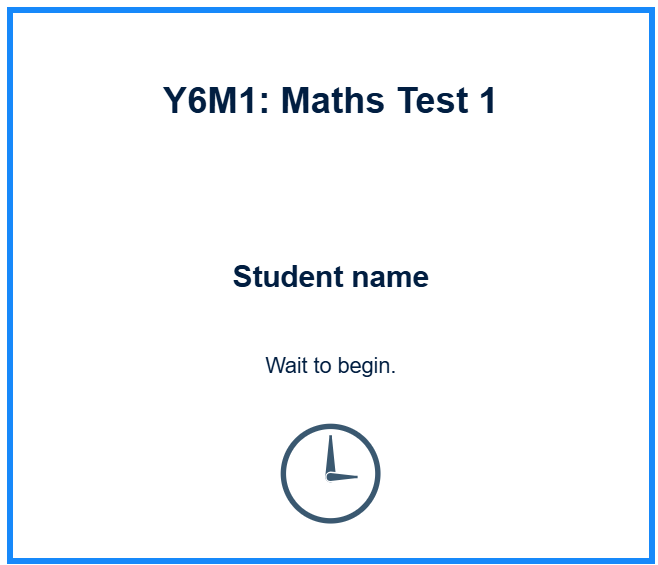 | |
| Click [Start Session] in the Teacher Dashboard to begin the test. | |
| Test questions are shown on the screen. Students can start taking the test. After completing all questions students submit their tests. | |
| Review the test session dashboard to check all tests have been submitted. Resolve any issues with unsubmitted tests. Once complete, Click [End Session]. |
Troubleshooting
If a student is in locked status, you can click on the lock button to unlock them.  |
If a student tries to join the test after the session has started, you can use the play button to allow their entry.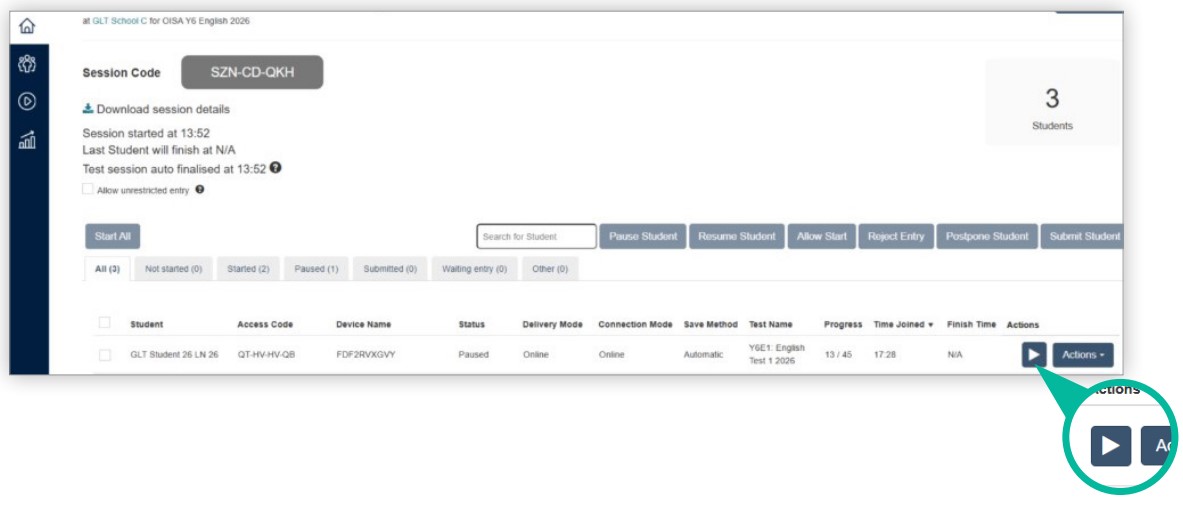 |